Something Pink Girls

Stay in touch with the PINK GIRLS on www.frostedwifey.com

xoxo


Tuesday, December 22, 2009

Creative ways to number your tables....


And remember they don't have to be actual numbers.... Get creative and have fun!
Name the table after a place that is significant to you....
or after your favorite city....
or favorite ride at Disneyland...
or favorite composer or song artist....
or favorite shoe designer.... or anything that you love!

XOXO
Something Pink Girls

Meet the newest PINK Girl!


Sadie Kathleen Egan

Wednesday, December 9, 2009

3 more fun " How To's"

Holly inspired napkin holders

How to:

Dress up the dinner table with napkin holders made from felt holly leaves and a jingle bell.
Create a leaf template, and cut out. Trace onto felt; cut out shape. Fold each leaf in half lengthwise, then steam with an iron to create creases. Thread a jingle bell onto the middle of decorative cording. Tie cord around base of leaves, positioning leaves at bell; knot. Tie cord behind folded napkin and voila! You have a beautiful napkin holder!


Yule Log Favor Boxes

These versions of the yule log, a quintessential symbol of the Christmas season, are actually favor boxes; they resemble birch logs, thanks to our clip art wrapped around paper-towel rolls.

How to:

Step 1

Prepare Tube

Use 1 3/4-inch-diameter toilet paper tubes or trimmed paper towel tubes. For each, you'll need two 3/4-inch-wide strips from an extra tube. Glue strips in tube ends 3/16 inch from openings. Paint tube brown. Let dry.

Step 2

Decorate Tube

Trim clip art to wrap around tube, leaving 1/16 inch of tube showing at ends. Glue in place with glue stick. Use craft glue to secure a 1 3/4-inch-diameter wooden disk in one end of the tube to close it. Glue a wooden knob to a second disk. Glue a 3/4-inch disk to bottom of tube for balance.


Step 3

Add Glitter

Brush craft glue over top of tube; sprinkle with clear shard-glass glitter. Brush glue on a pine sprig; sprinkle with clear fine glitter. Mix white paint with more glue; brush on a grapevine nest, and sprinkle with clear shard-glass glitter. Brush glue on an artificial bird, avoiding beak and eyes; sprinkle with colored glass glitter. Hot-glue bird into nest, and nest and sprig onto tube. Tuck favors inside; close end with other disk.


Sparkling Snowman Treat Boxes

Sparkling snowmen make an impressive display (the big figure stands more than a foot tall) and double as treat boxes for candies.

How to:

The spheres for these frosty figures come in different sizes. The large snowman has a 4 3/4-inch round treat box as its base, with 2 foam balls on top: 4 inches and 3 inches. The small one has a 4-inch round box and a 2 1/2-inch foam ball.

Step 1

Assemble Body

Indent 1 end of a pressed-paper box with your thumbs, to help the snowman stand up. Paint both halves of box with white acrylic paint; let dry. Slice off 1 end of each foam ball using a craft knife; indent sliced end of each ball with your thumbs. Reassemble box. Using a hot-glue gun, affix 1 or 2 foam balls, depending on the size snowman you're making.


Step 2

Assemble Features, Arms, and Scarf

For the features: Roll black modeling clay into tiny balls for the eyes, buttons, and mouth. For the nose, roll orange clay into a carrot, making ridges with the back of a craft knife. Bake following manufacturer's instructions. Using the tip of a paintbrush handle, poke holes into the foam balls to mark the placement of clay pieces.

Step 3

For the arms: Print and cut out snowman templates (Large Snowman Template or Small Snowman Template). Trace arms onto white card stock; cut out. Using the hands as a guide, cut 4 mitten shapes from wool felt. Using craft glue, affix 1 mitten onto each side of each hand; let dry. For mitten cuffs, cut 2 lengths of narrow ribbon. Wrap 1 around each hand where mitten meets arm, securing with hot glue; let dry. Set arms aside.

Step 4

For the scarf: Cut a strip of wool felt (1 1/4 by 14 inches for the large snowman; 1 by 12 1/2 inches for the small one). To make fringe along the length and width of scarf, pull 1 to 2 threads on the long edges and a few on the short edges.

Step 5

Construct Hat

Trace 2 hat templates (Large Snowman Template or Small Snowman Template) onto gray card stock; cut out. Using a bone folder, make creases along the rectangle's dotted lines. Using craft knife, cut tiny notches along long edges, up to folded edge.

Step 6

Following circle template and using craft knife, cut out the inside circle, creating the brim and the top of hat. Roll rectangle, overlapping it at the short edges. Slip it inside brim; flatten the notches underneath brim, and secure with craft glue. At the other end of rolled rectangle, fold notches in, and glue on hat's top; let dry. Paint white "snow" on the edges of brim and top of hat.

Add Glitter , Arms, and Hat

Separate halves of box. Using a craft brush, apply craft glue to part of snowman's body. Holding snowman over a bowl, sprinkle spoonfuls of clear shard-glass glitter over glued area. Repeat until entire body is glittered; let dry. Glitter both arms above the ribbon cuffs, front and back, except at the inner top area of each arm, where arms will attach to body. Glitter the painted areas of hat. Attach arms to body at the shoulders, using hot-glue gun. Hot-glue hat to snowman's head.

Step 8

Arrange Accessories

Using tweezers and craft glue, insert features and button pieces into the prepoked holes. Place a trinket, such as a vintage bottlebrush tree or a bundle of sticks, under 1 arm if desired, and secure to body with hot glue. Secure hands to body or trinket with hot glue. Tie scarf around the neck.


XOXO

PINK girls


* You can find all templates at marthastewart.com We heart her!

Monday, December 7, 2009

PINK up the Holidays!


Let PINK add a little bit of fun to your holidays! If you need help planning the perfect PINK holiday party email us at events@somethingpinkgirls.com

XOXO
PINK Girls

Thursday, December 3, 2009

Help your PINK GIRLS!!!

Our goal is 2000 facebook fans by December 31st!!

Help us reach our goal by spreading the word and suggesting the FAN PAGE to your friends!!!

Make sure to check the blog daily for fun posts, updates, ideas and just a bunch of fun stuff to keep you in the PINK LOOP!!

Thank you all for your love and support. We love what we do and couldn't do it without you guys!

xoxo
Nicky and Erika

PS... Don't forget to email us your "how to" videos and pictures this month! We will be posting all of our fans pics and videos on the blog.  At the end of the month, our fans and followers will vote on their 3 favorite crafts or recipes!!

The 3 Winners will get a big old PINK present compliments of the PINK TEAM!


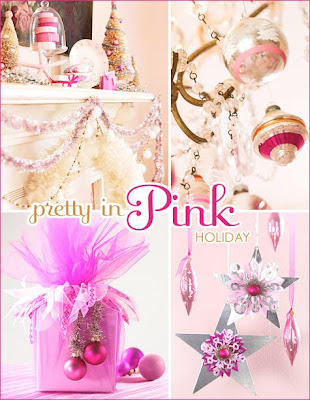
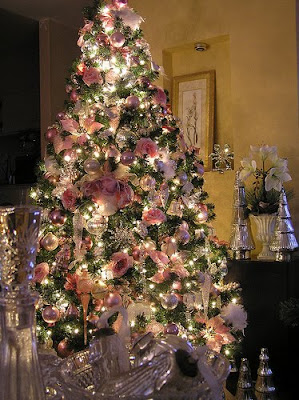
We're dreaming of a PINK... Christmas... (Sorry, we couldn't resist)


A little bit... (OKAY A LOT) 


of Pink Inspirations for having your very own... PINK CHRISTMAS!

Enjoy!
xo
Your Pink Girls